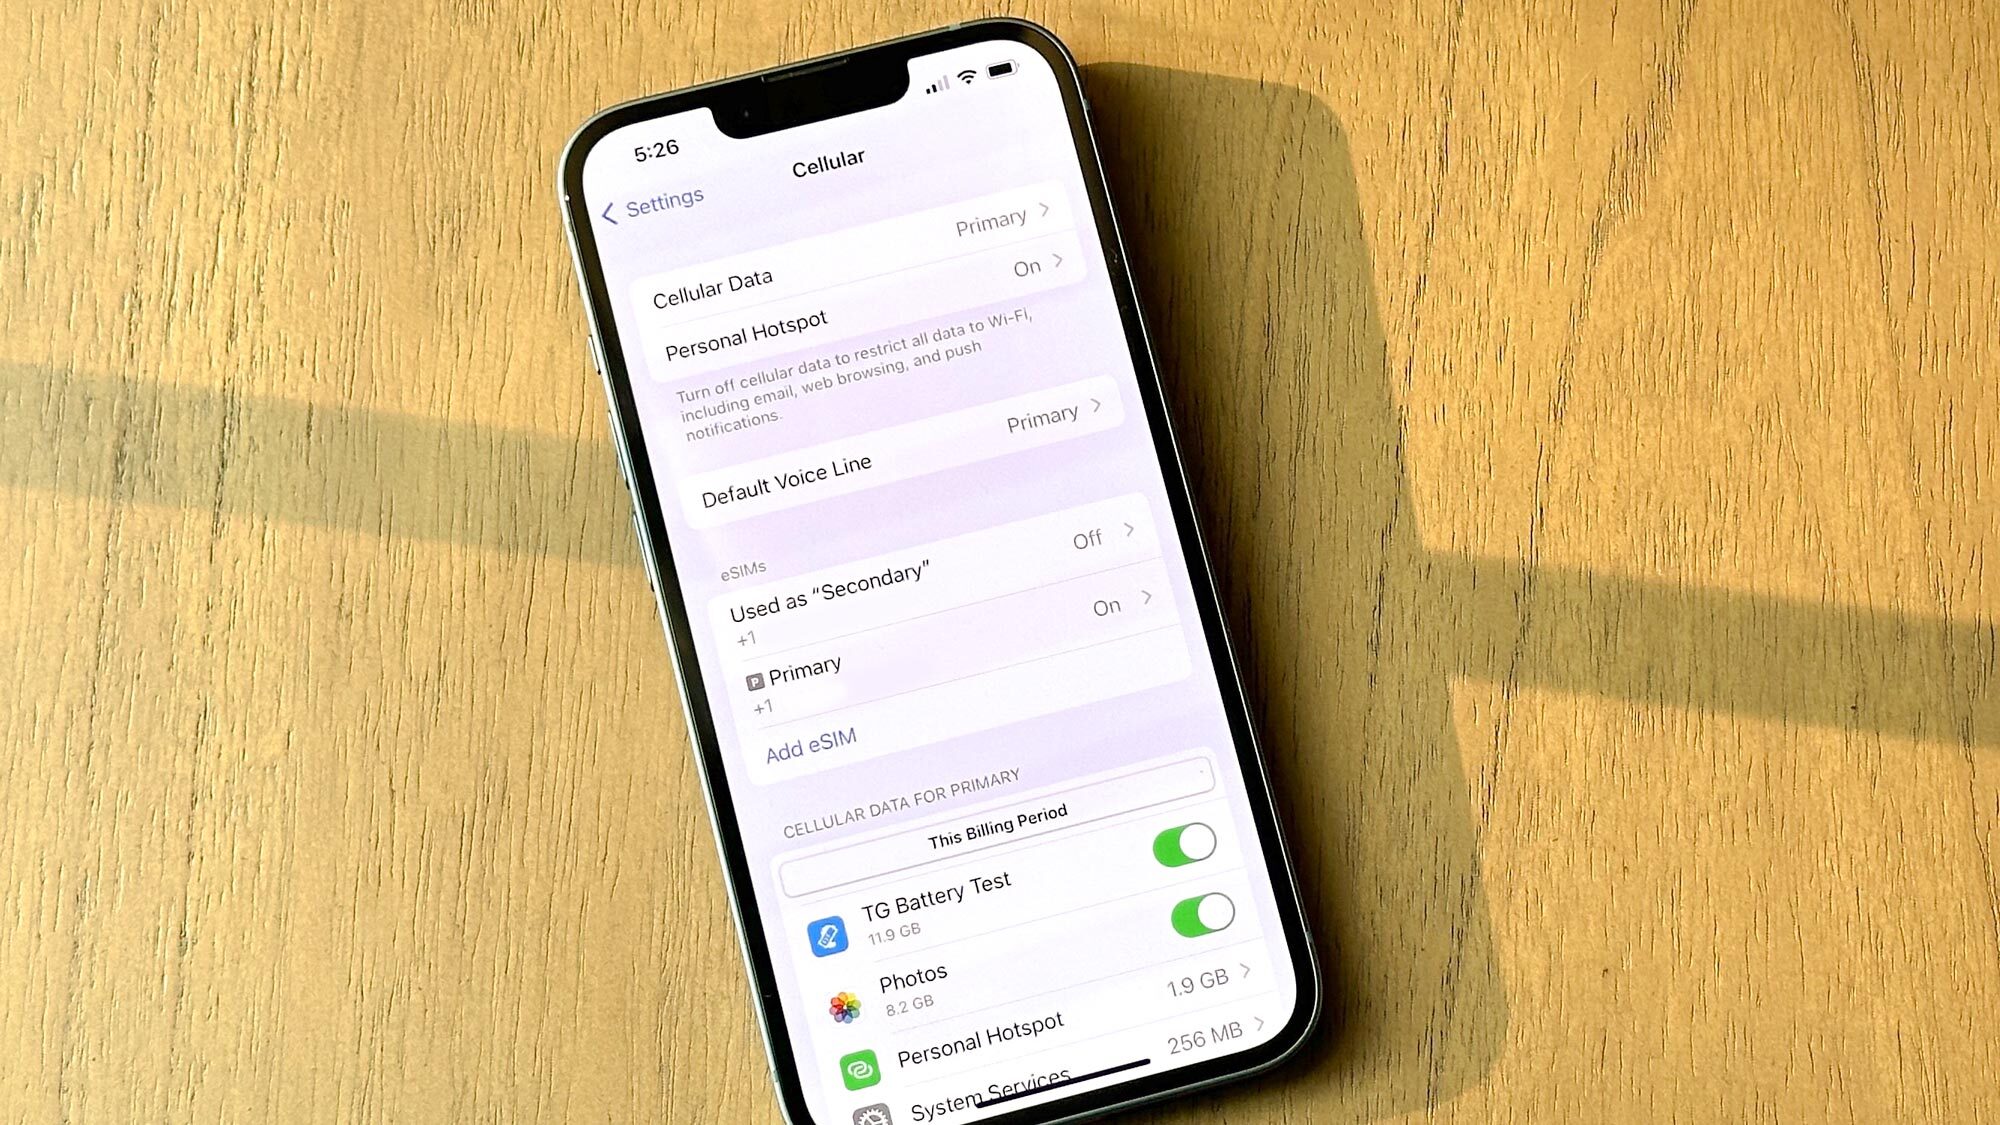
Welcome to our detailed guide on how to activate eSIM on your iPhone 14 when transitioning from an Android device. The iPhone 14 series has taken communication convenience to the next level by promoting eSIM technology. With an eSIM, you no longer need a physical SIM card to connect to a network. Moving from an Android phone with an eSIM to an iPhone 14 can seem daunting, but it doesn’t have to be. Follow this step-by-step guide to activate your eSIM on your new iPhone 14 seamlessly.

Credit: www.tomsguide.com
Step 1: Check eSIM Compatibility
Before you start, ensure that your service provider supports eSIM technology and that it is available in your region. Contact your carrier for more information about their eSIM compatibility and services.
Step 2: Prepare Your Android Device
Begin by locating the eSIM settings on your Android device:
- Go to settings
- Tap “Network & Internet”
- Tap “Mobile network”
- Tap “Advanced”
- Choose “Carrier”
- Select the eSIM you wish to transfer (if applicable)
Take note of any eSIM information that might be required during the transfer process, such as QR codes, activation codes or confirmation messages from your carrier.
Step 3: Set Up Your iPhone 14
Once you’ve prepared your Android device, it’s time to set up your iPhone 14:
- Turn on your iPhone 14 by pressing the power button.
- Follow the on-screen instructions to start the setup process.
- When prompted, choose “Cellular Plan” and select “Add eSIM.”
- Use the iPhone camera to scan the QR code provided by your carrier.
- Follow the on-screen instructions to add the eSIM to your iPhone 14.
- Choose to “Enter Details Manually” at the bottom of the “Cellular Plan” screen.
- Type in the information as provided by your carrier.
Step 4: Contact Your Carrier if Necessary
If your eSIM is not activating or you encounter issues, directly reach out to your carrier for support:
- Call your carrier’s customer service line.
- Explain that you are moving an eSIM from an Android device to an iPhone 14.
- Provide any requested details from your previous device or eSIM card.
It’s essential to have your carrier support because they might need to register your new iPhone 14 with your existing phone number.
Step 5: Confirm Activation
Once you have followed the above steps or completed the process with your carrier’s assistance, confirm that your eSIM is active:
- Go to “Settings” on your iPhone 14.
- Tap “Cellular.”
- Look for the plan under “Cellular Plans.”
- If it says “No Service,” wait a few moments or restart your iPhone.
Your eSIM should now be activated and fully functional on your iPhone 14.
Troubleshooting Common Issues
| Issue | Potential Solution |
|---|---|
| No network connection after activation | Restart your iPhone and ensure that you’re in an area with network coverage. |
| Activation error during setup | Double-check the information entered and consult with your carrier if the issue persists. |
| Carrier not listed on iPhone | Try manually entering the eSIM details or reach out to your carrier for assistance. |
| Data connection issues | Check if you have the correct data plan activated and reset network settings if needed. |
Frequently Asked Questions On How To Activate Esim On Iphone 14 From Android?
Can I Switch To Esim On Iphone 14?
Yes, switching to an eSIM on the iPhone 14 is possible by contacting your carrier and requesting an eSIM setup.
Is Esim Compatible With Iphone 14?
The iPhone 14 supports eSIM and can be used with compatible carriers that offer eSIM service plans.
How To Transfer Esim From Android To Iphone?
To transfer an eSIM from Android to iPhone, you’ll need to request a transfer or a new eSIM profile from your carrier.
What Are The Steps To Activate Esim On Iphone 14?
Activating eSIM on iPhone 14 involves scanning a QR code from your carrier, installing the eSIM profile, and following on-screen instructions on your iPhone.
Conclusion
Activating an eSIM on an iPhone 14 when switching from an Android device involves a few precise steps, but following this guide will help ensure a smooth transition. If you experience any issues during the activation process, always reach out to your carrier for further assistance.